I had seen this cake on another bloggers page, Jo Wheatley, she is also the winner of the Great British Bake Off so you know it's going to be a good cake. This cake grabs you as soon as you set your eyes on it, and as soon as I saw it I knew that was the cake I was going to make for my mum.
There were a few alterations to my own cake mainly in regards to the decoration. My collar was slightly taller, but in the end I preferred this as it looked a little more Art Nouveau and the '50' on Jo's cake was replaced by a '60' for my mums cake.
You can find the original post and recipe here.
Looks impressive right? Looks incredibly hard and complicated to make yes? Well maybe.. but if I can do so can anyone! It just takes a lot of patience and good timing.
So here's how my construction of this epic cake went.
This cake requires four 7 inch sponge layers. I only have two 7 inch sandwich tins, so patience comes in to play already whilst I wait for the first pair to bake and then put the second pair in to the oven. (Lots of tea was consumed in the making of this cake).
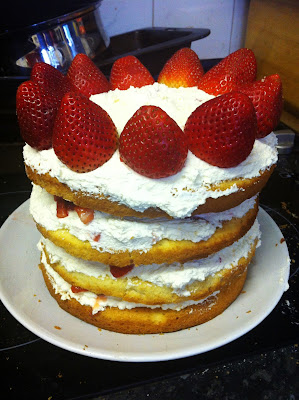
I measured out the strawberries on one of the cakes to make sure I had enough to fit around the top before I diced the rest of them for the strawberry cream and strawberry layers.
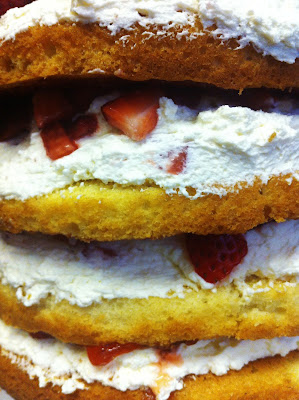
Then once the cakes were cooled I made the cream and sandwiched them altogether.
Cream-a-licious!
I thought that the cake might actually collapse as I transported it to the fridge but it was, despite it's weight, rather sturdy.
So whilst the cake was chilling in the fridge I set out to make that chocolate collar, the bit I was dreading the most. I melted the chocolate in a pan (for some reason I can't do the chocolate over a pan of boiling water so I just stick it in a pan over a low heat and let it melt, it always works out okay) then attempted to put it in my icing tube... melted chocolate is a lot thinner than icing and so it started squirting out all over the place, managing eventually to get it under control, and covering myself in chocolate I started to drip it over my pre-placed baking parchment. Because of the weight in the bottom of the tubing if you hold it at the top and gently rock it, it moves in a pendulum fashion.
I arranged 4 pieces of parchment on my table, the centre piece of parchment which would hold my collar, and pieces at the bottom and the ends so I could peel these away later and get an absolutely straight edge for the bottom of my cake.
Here timing is essential, you have to judge it just right. Too early and the chocolate will just run down the paper when you lift it, too late and the chocolate wont stick to the cake and the chocolate might crack too.
I had to rearrange the whole of my fridge and take two shelves out to put it in there and let the chocolate cool.
and....
Ta Da!
Here are some more pictures of this very special cake.
HAPPY BIRTHDAY MUM!!!


